The AppPush plugin allows you to send push notifications to your app through your WordPress website.
You can send them manually through the AppPresser => Notifications menu, or send them automatically by selecting which post types should send notifications when they are published in the plugin settings.
Note: There are additional instructions for Push Notification setup for myapppresser.com.
Overview
Setting up push notifications requires these steps:
- Install the AppPush extension
- Configure the plugin settings
- Test
1. Installing the AppPush extension
Upload AppPush by logging into your WordPress admin, and going to Plugins => Add New => Upload. Upload the .zip file and activate.
You can also upload the unzipped plugin folder via FTP to wp-content/plugins.
2. Configure settings
Visit the AppPresser settings page in your WordPress dashboard.
First, make sure you have filled out your site slug and app ID settings:
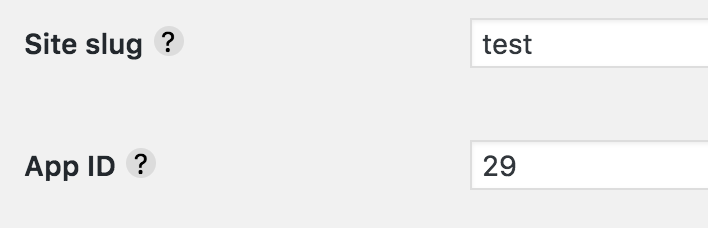
You can find these settings in your myappppresser.com dashboard by clicking your app, then selecting General in the left sidebar.
Next, visit the Notifications tab and add your AppPresser Notifications Key. You can find this setting in your myappppresser.com dashboard by clicking your app, then selecting Push Notifications in the left sidebar.

You do not need to enter any of the settings for AppPresser 2 or Pushwoosh.
Don’t forget to add your license key in the appropriate field to receive updates.
Sending Notifications
You can send notifications in a variety of ways.
Note: sending notifications will not work unless you have properly configured your app to receive them. This means setting up your push profiles on your myapppresser.com dashboard, and rebuilding your app with notifications enabled. Please see
this article for help with push profiles.
Manual Sending
In your WordPress dashboard, go to AppPresser => Notifications to send a notification manually.

Enter a title, message, and publish to send.
Important: A title is optional, but notification text is required. The notification will not send without text in the body.
iOS quirk: Titles do not show on iOS, instead the app name is displayed. Android shows the title with the message below. For consistency across platforms, you can leave out the title altogether.
Custom URL: to open a specific app page when the notification is clicked, enter the exact page title in this field. For example, if the page title in your app menu says “My Page”, enter “My Page” in this custom page field.
Sending Notifications when Posts are Published
To send a notification when any type of post is published, go to the Notifications tab on the AppPresser settings page and choose the post types you’d like to enable.
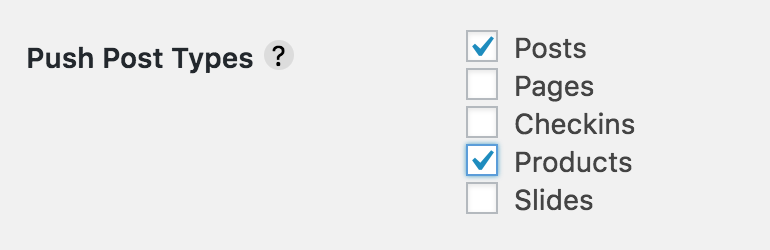
Save when you are finished.
Now when you create a new post, you should see this meta box at the top right:

Check this box before you publish, and a notification will be sent out immediately.
Other Ways to Send Notifications
Filter Push Content
You filter the content by using the filter add_filter( ‘send_push_post_content’ )
Example on customizing the push content for a specific custom post type:
function send_custom_push( $message, $post_id, $post ) { if( 'apppush' === $post->post_type ) { $message = 'My custom push message'; } return $message; } add_filter( 'send_push_post_content', 'send_custom_push', 10, 3 );
This filter overrides the content of the push notification, only when sent through WordPress. This will not affect pushes sent through myapppresser.com.